
Peeling, Flaking and Failing Sealers
The Hidden Damage a Bad Sealer Coating Does to Your Surface.
There’s a particular kind of dread that sets in when you look down at your driveway, patio, or pool surround and realise the sealer is peeling. Maybe it’s lifting at the edges. Maybe it’s gone milky and cloudy in patches. Maybe it’s flaking off entirely in some spots while stubbornly clinging on in others, creating that blotchy, inconsistent look that somehow manages to be worse than no sealer at all.
The instinct for most people at that point is to think about re-sealing. Get something on there, cover it up, restore the finish. And that instinct, while understandable, is one of the most common — and costly — mistakes made in surface maintenance.
Because here’s the thing: a failed sealer coating isn’t just a cosmetic problem. It’s an active one. And sealing over the top of it doesn’t solve anything. It buries the problem under a fresh layer and gives it somewhere warm and dark to keep getting worse.
How Sealers Fail — And Why It Happens More Than You’d Think
To understand why failed sealers cause the problems they do, it helps to understand what a topical sealer actually is and what it’s trying to do.
Topical or film-forming sealers sit on top of the surface rather than penetrating into it. They create a protective layer — a skin, essentially — over concrete, pavers, stone, or other outdoor surfaces. That layer is designed to repel water, resist staining, protect against UV damage, and in many cases enhance the appearance of the surface beneath with a gloss, satin, or matte finish.
When they’re working correctly, they do all of those things well. The problem is that topical sealers are inherently vulnerable to a set of conditions that are extremely common in outdoor environments in Australia — heat, UV exposure, moisture cycling, and the natural movement of the substrate beneath them.
The most common failure modes we encounter are peeling and flaking, where the sealer loses adhesion and lifts away from the surface in sheets or fragments. Bubbling or blistering is another frequent one, caused by moisture vapour trapped beneath the coating trying to escape. Milky or cloudy whitening — sometimes called blushing — occurs when moisture becomes trapped within the sealer film itself, scattering light and destroying the finish. And then there’s the uneven, patchy deterioration that comes from differential wear, where high-traffic areas or sun-exposed sections break down faster than sheltered ones, leaving the surface looking inconsistent and tired.
None of these are purely aesthetic issues. Each one signals that the sealer’s integrity has been compromised — and that the surface beneath it is now more vulnerable, not less.
The Real Problem: What’s Happening Underneath
This is the part that most property owners don’t fully appreciate until it’s too late, so it’s worth spending a moment on it.
When a topical sealer fails — particularly when it peels, blisters, or lifts at the edges — it creates pockets and channels between the coating and the surface beneath. Water gets into those spaces. And once water is in, it can’t easily get out. The remaining sections of intact sealer trap it there, creating a persistently moist environment directly against the surface of your concrete or pavers.
That trapped moisture does several things, none of them good. It creates ideal conditions for mould and mildew growth, which not only looks unpleasant but can create slip hazards and, over time, begin to break down the surface itself. It causes uneven staining as minerals, salts, and organic material carried by the moisture are deposited unevenly across the surface. In climates with temperature variation, trapped moisture expands and contracts with heating and cooling cycles, accelerating micro-cracking and surface spalling — a process where the top layer of concrete or stone begins to flake and pit.
For commercial properties, this kind of surface deterioration has implications beyond appearance. Spalling and uneven surfaces create trip hazards with liability implications. Mould growth in high-traffic areas raises hygiene concerns. And the cost of repairing structural surface damage is significantly higher than the cost of maintaining the surface properly in the first place.
For homeowners, the equation is simpler but no less relevant. A surface that has been allowed to deteriorate under a failed sealer is a surface that may need grinding, patching, or extensive preparation before it can be re-sealed properly — all of which adds time and cost to what could have been a straightforward job.
Why Sealing Over a Failed Coating Never Works
Let’s address this directly, because it’s one of the most common questions we get: can’t you just apply a new sealer over the top of the old one?
The short answer is no. The slightly longer answer is that doing so will give you a temporary cosmetic improvement that fails faster, looks worse when it goes, and leaves you with a significantly harder removal job at the end of it.
Here’s why. A new topical sealer needs a clean, sound, properly prepared surface to bond to. When you apply it over a failing coating, you’re not giving it that. You’re giving it a surface that is already compromised, already losing adhesion, and already trapping moisture. The new sealer can’t bond through the old one to the substrate below — it can only bond to whatever is left of the existing coating. And since that coating is already failing, the new layer will begin to fail along with it, often faster than it would have otherwise.
In some cases, applying a new sealer over a failed one also seals in existing moisture, accelerating the mould growth and surface damage described above. You’ve effectively put a lid on a problem and given it a stable environment to worsen.
The only correct approach is complete removal of the failed coating, proper surface preparation, and then application of a fresh sealer to a clean, sound substrate. There are no shortcuts that produce a lasting result.
The Stain Eaters Process: Removal, Preparation, Protection
This is where having the right equipment and the right expertise makes an enormous difference — and it’s an area where Stain Eaters has invested significantly to be able to deliver results that other operators simply can’t match.
Sealer Removal
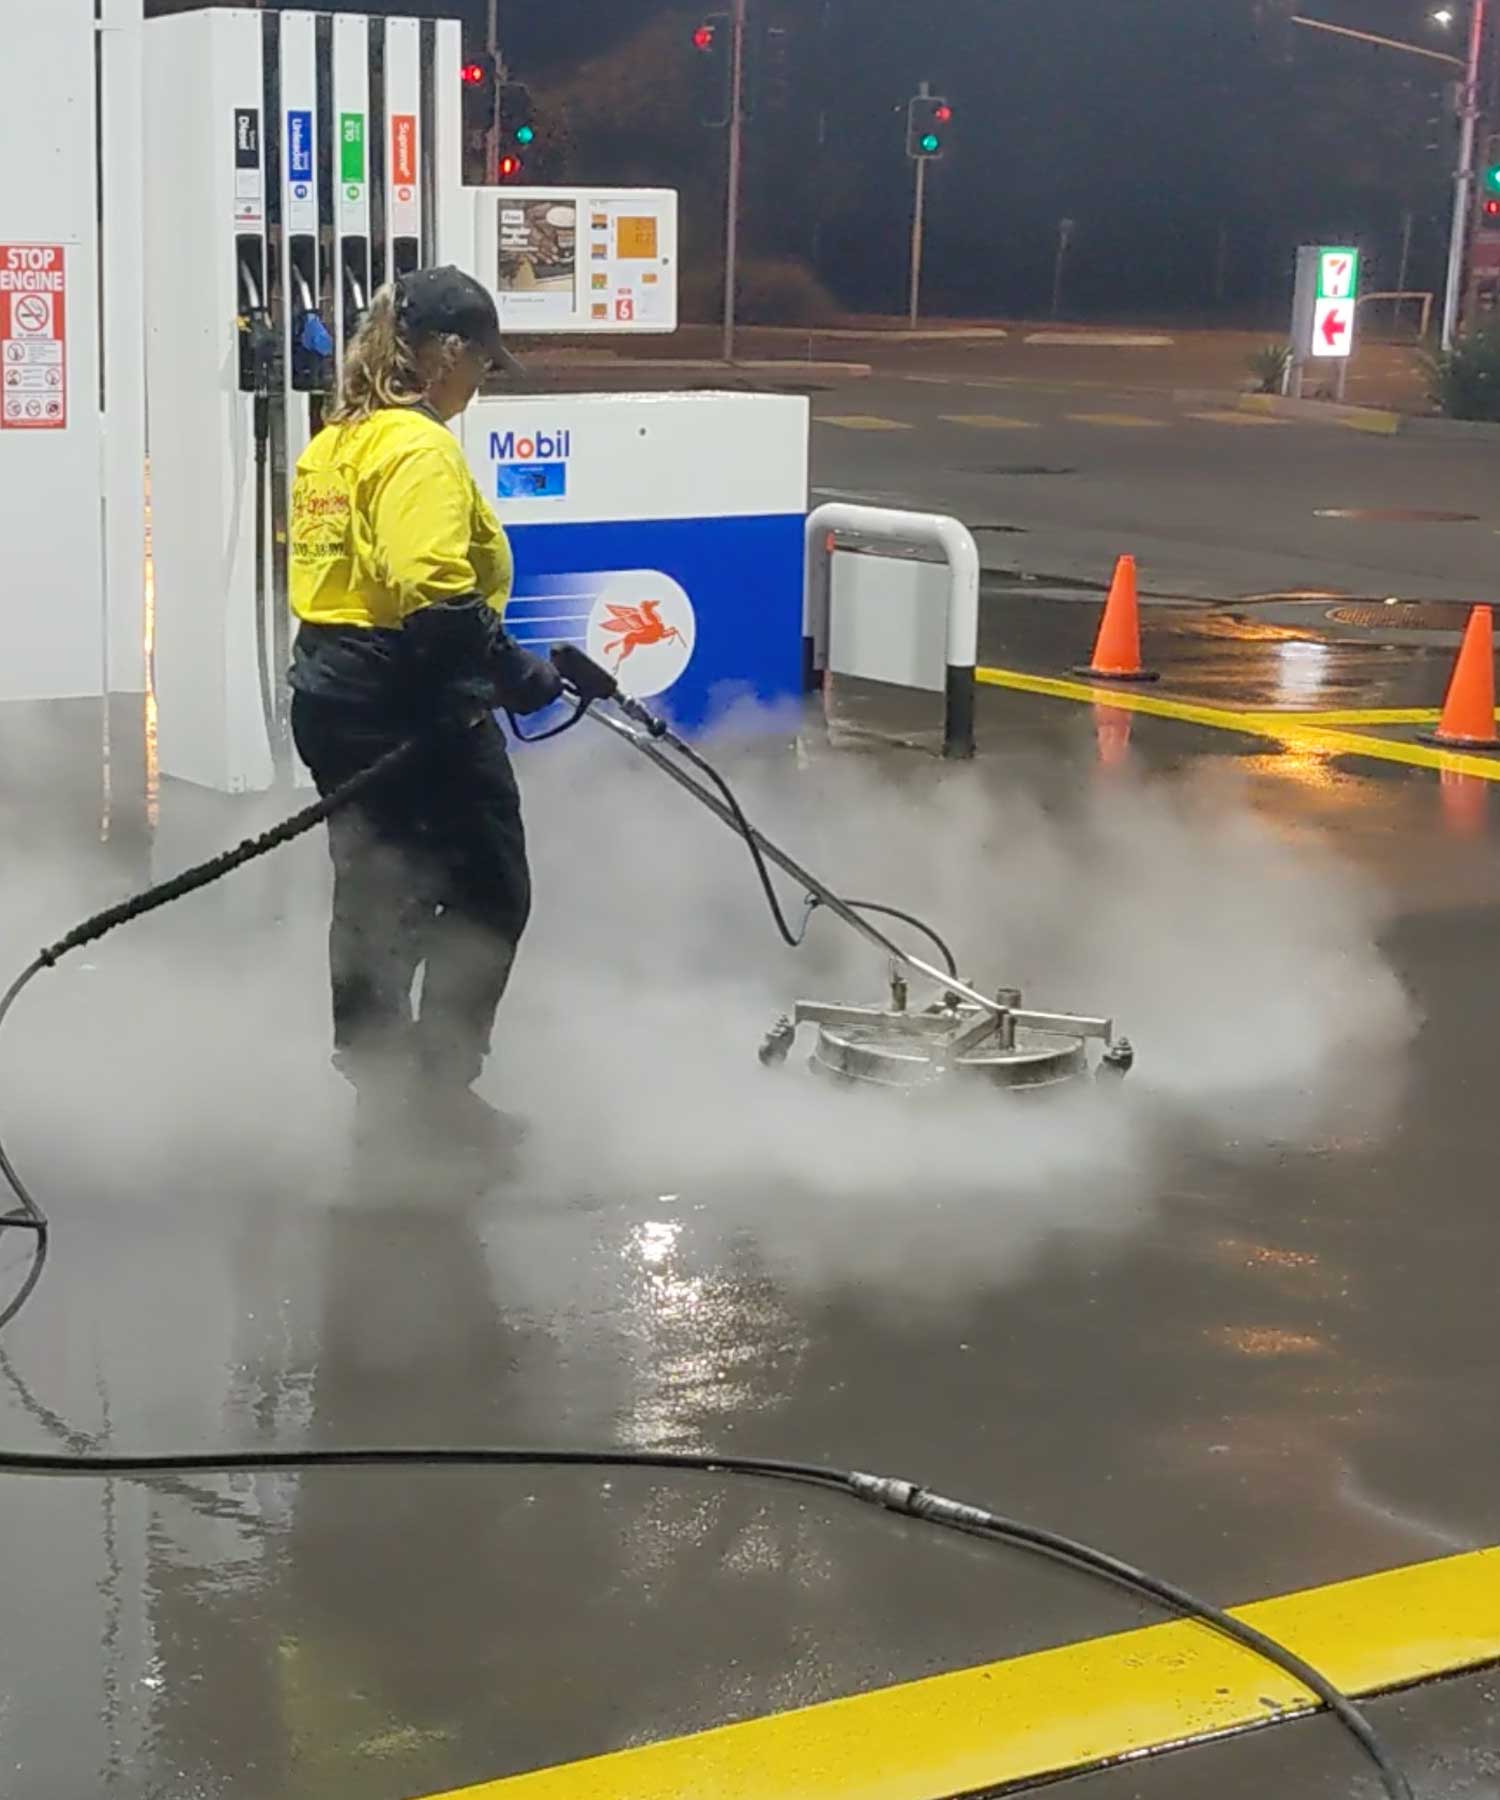
Removing a failed topical sealer completely and cleanly is not a job for a standard pressure washer and a bottle of off-the-shelf stripper. It requires the right specialist cleaning solutions applied at the right dilution and dwell time, combined with sufficient heat and pressure to break the bond between the coating and the substrate — without damaging the surface in the process.
Our custom-built pressure washing equipment is designed and built specifically for this kind of work. It delivers hot water at precisely controlled pressure, which dramatically improves the effectiveness of the removal process compared to cold water equipment. Heat softens and breaks down the sealer film, making it easier to lift cleanly from the surface without the need for excessive mechanical abrasion that can damage the substrate. Combined with our professional-grade specialist cleaning solutions, our system can strip failed coatings from concrete, pavers, stone, and other common outdoor surfaces thoroughly and efficiently.
Surface Preparation
Once the failed sealer has been removed, the surface needs to be properly assessed and prepared before anything new goes on. This is a step that is frequently rushed or skipped entirely by operators looking to turn a job around quickly — and it’s the step that most often determines whether the new sealer lasts or fails prematurely.
Surface preparation involves thorough cleaning to remove any residual sealer, mould, staining, or organic material. It involves assessing the condition of the substrate for any damage, spalling, or moisture issues that need to be addressed before re-sealing. And it involves allowing the surface adequate drying time — because applying a topical sealer to a surface that retains any moisture is a reliable way to create the bubbling and blistering problems you’re trying to avoid.
Our technicians are trained to carry out this assessment properly, and we’ll be upfront with you about the condition of the surface and what preparation is required before we recommend a sealer application. If there’s remedial work needed, we’ll tell you. No surprises.
New Sealer Application
With a properly stripped and prepared surface, the final step is the application of a fresh sealer that’s appropriate for the surface type, the environment, and the performance expectations of the property owner.
At Stain Eaters, we supply and apply the new coating ourselves, which means the entire process — removal, preparation, and re-sealing — is handled by one team under one accountability. There’s no handoff between trades, no gap in responsibility, and no risk of the preparation work being undermined by a separate contractor applying an incompatible product.
We match the sealer type to the surface and the application. The right product applied correctly to a properly prepared surface is what produces a finish that looks good, performs well, and lasts — rather than one that looks fine for six months before the cycle of failure starts again.
When Should You Act?
The honest answer is: as soon as you notice signs of failure. Not next season, not after summer, not when you get around to it.
The reason timing matters is that sealer failure is a progressive condition. A small area of peeling or blistering that is addressed early is a contained problem — strip it, prepare the surface, re-seal. The same area left for another twelve months of rain, UV exposure, and temperature cycling is a much larger problem, potentially involving significant surface damage that requires remedial work before re-sealing is even possible.
For commercial property managers overseeing large hardscaped areas — car parks, building entries, outdoor dining areas, loading zones — the practical and financial case for acting early is even stronger. Surface remediation at scale is expensive and disruptive. Proactive maintenance is neither.
If you’re not sure whether your sealer has failed or is just showing normal wear, a professional assessment is the right starting point. Our team can inspect the surface, give you an honest evaluation of its condition, and recommend the appropriate course of action — whether that’s a full strip and re-seal, targeted remediation, or something else entirely.
The Bottom Line
A failed sealer coating is not a cosmetic inconvenience you can address whenever it’s convenient. It’s an active problem that compounds over time, trapping moisture, encouraging mould, causing surface deterioration, and ultimately costing significantly more to fix the longer it’s left.
The solution is not to seal over it. The solution is to remove it properly, prepare the surface correctly, and apply a fresh coating that actually bonds and lasts. That’s the full process — and it’s the only process that produces a result worth having.
At Stain Eaters, we handle every step of that process with custom-built equipment, professional specialist cleaning solutions, and technicians who understand that the preparation is just as important as the final coat. If your sealed surface is showing signs of failure, get in touch with our team today for a free assessment and let’s talk about what proper restoration looks like for your property.