
DIY Graffiti Removal
The 5 Mistakes That Make It Worse, and What to Do Instead
Seeing graffiti on your wall, fence, roller door or sign can feel personal. Your first instinct is usually the same as everyone else’s: get it off — now. The problem is, most DIY removal attempts don’t just fail… they make the job harder, more expensive, and sometimes impossible to clean properly without leaving damage behind.
If you’ve ever ended up with a smeared “shadow”, a patchy light spot, or a bigger mark than you started with, you’ve already met the five classic mistakes.
Mistake 1: Rubbing it like a stain
Graffiti isn’t spilled coffee. Spray paint, marker and paint-pen inks are designed to stick, and when you scrub hard you often drive pigment deeper into porous surfaces like brick, concrete, render and sandstone. On smooth painted walls, the rubbing can dull the paint finish and spread the colour wider.
What to do instead: Stop the urge to scrub. If the graffiti is fresh, the best “first step” is often to leave it alone and get advice, because the wrong movement can lock the pigment in.
Mistake 2: Hitting it with high pressure straight away
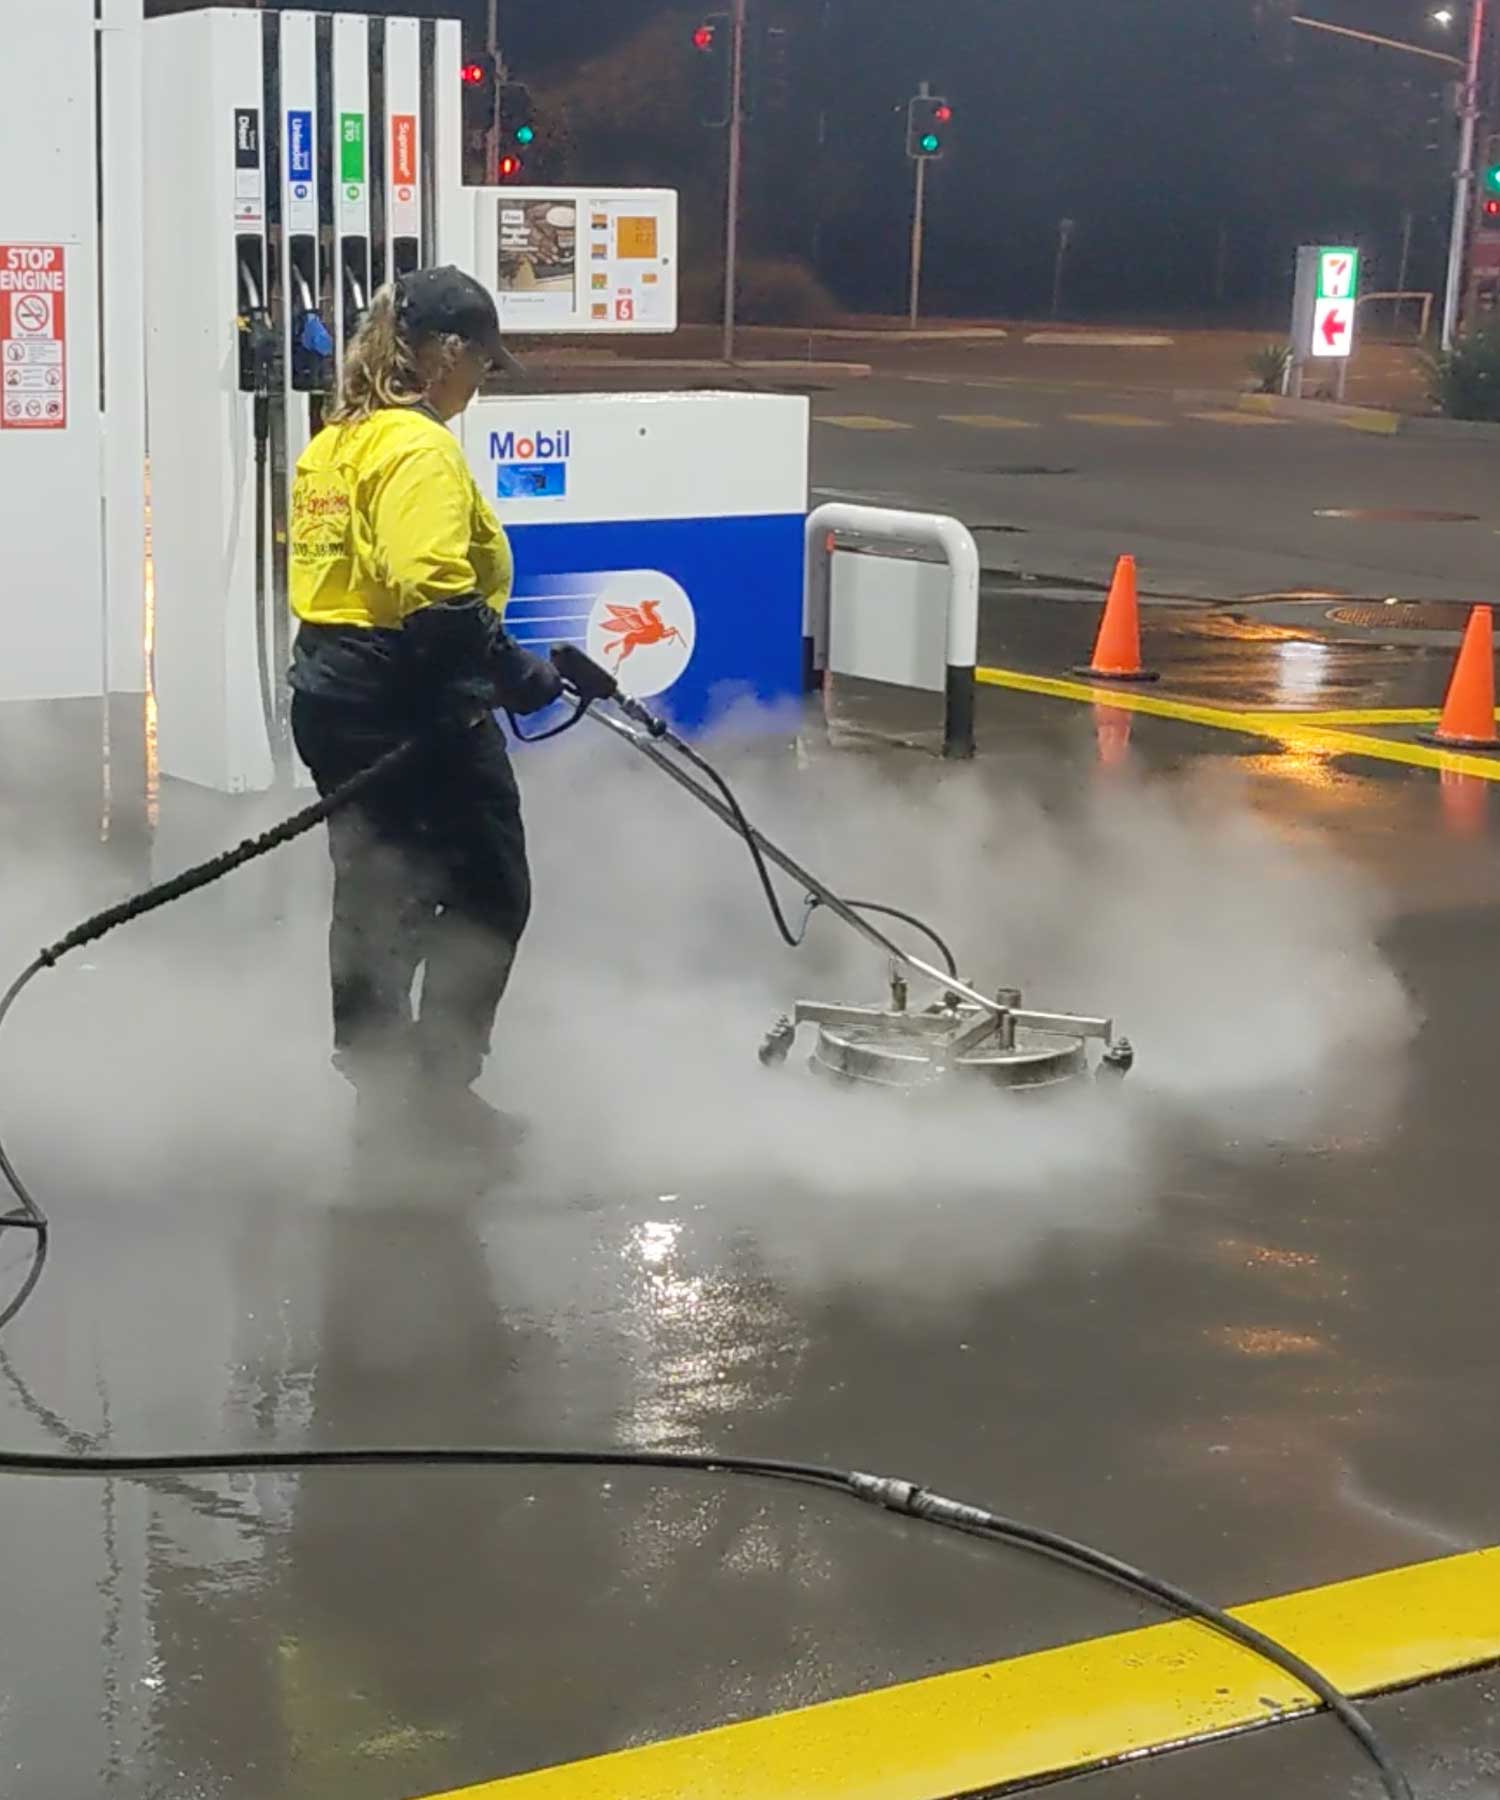
Pressure washing can be useful, but it’s not a magic eraser. On many surfaces, high pressure alone removes the top layer of paint but leaves a visible shadow behind. Worse, it can etch render, roughen timber, strip coatings, or leave zebra-striping that stands out more than the graffiti.
What to do instead: Use pressure only as part of the right process, with controlled pressure and the correct technique for the substrate.
Mistake 3: Using harsh “whatever’s in the shed” solvents
This is where things go sideways fast. Random solvents can melt plastics, haze polycarbonate, lift signage print, smear inks across painted walls, or strip the protective finish from powder-coated metal. Even when the graffiti fades, you can be left with a bigger, permanent damage mark.
What to do instead: Use specialist graffiti cleaning solutions chosen for the paint/ink type and the surface underneath, applied in a controlled way so you remove the graffiti without damaging the substrate.
Mistake 4: Painting over it and hoping it disappears
Painting over graffiti seems like the quick fix, but it often creates a “patch job” that looks worse than the tag. Some inks bleed through later, especially markers and paint pens. And if you repaint before the graffiti is treated properly, you can end up locking in stains that show through multiple coats.
What to do instead: Treat the graffiti first. If painting is still needed, you’ll get a cleaner, more even result with far less chance of bleed-through.
Mistake 5: Waiting too long
Graffiti gets harder to remove the longer it sits. Paint cures. Marker inks soak deeper. Sun bakes it in. Rain can spread it. By the time someone decides to “deal with it”, you may be looking at a stubborn stain that takes longer to remove and has a higher risk of ghosting.
What to do instead: Act early. A fast response is often the difference between a clean removal and a lingering shadow.
Why calling professionals is usually cheaper
It sounds backwards, but it’s true: the cheapest graffiti removal is often the one done properly the first time.
When DIY goes wrong, the job becomes more complicated. What was a simple removal can turn into a larger stain, surface damage, or a patchy repair that then needs repainting or panel replacement. That’s where costs blow out — and where the site still looks messy in the meantime.
Our technicians remove graffiti for a living. We know how different paints and inks behave on different substrates, and we use specialist graffiti cleaning solutions and controlled methods to lift graffiti without causing the damage that DIY attempts often create. The result is faster, cleaner, and far more likely to look “like it never happened”.
If you’ve got graffiti on a wall, sign, door, fence, brickwork or concrete, get in touch. We’ll get it off.